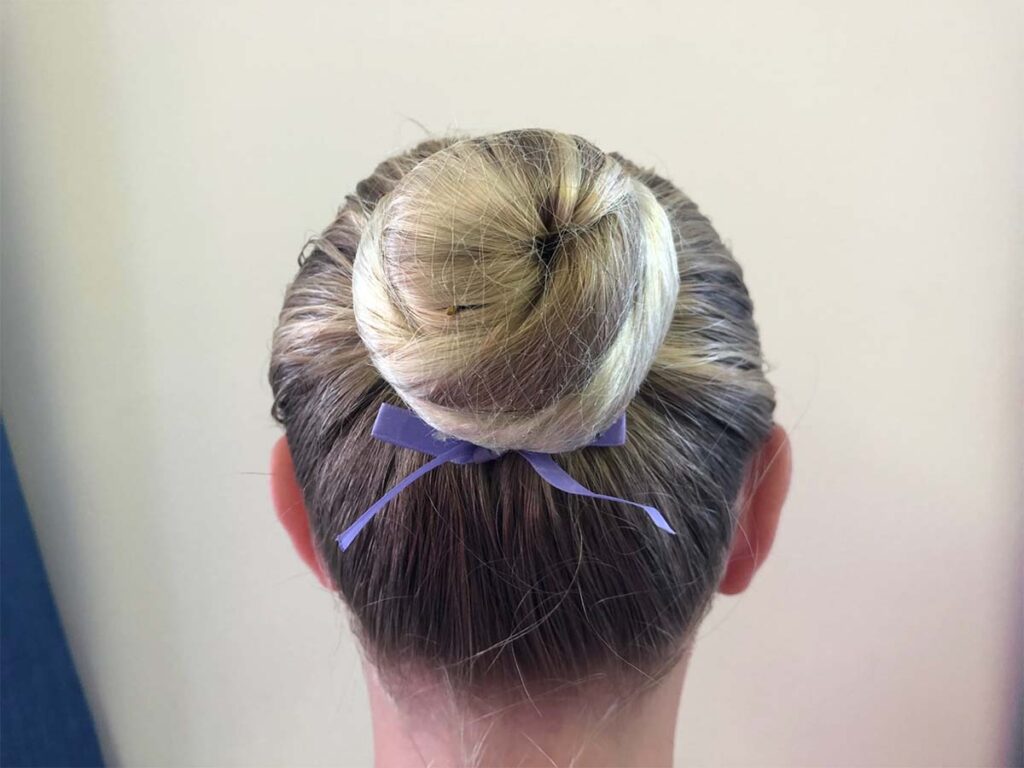
The classical Ballet bun for dance classes, exams and show
What you will need for the perfect bun:
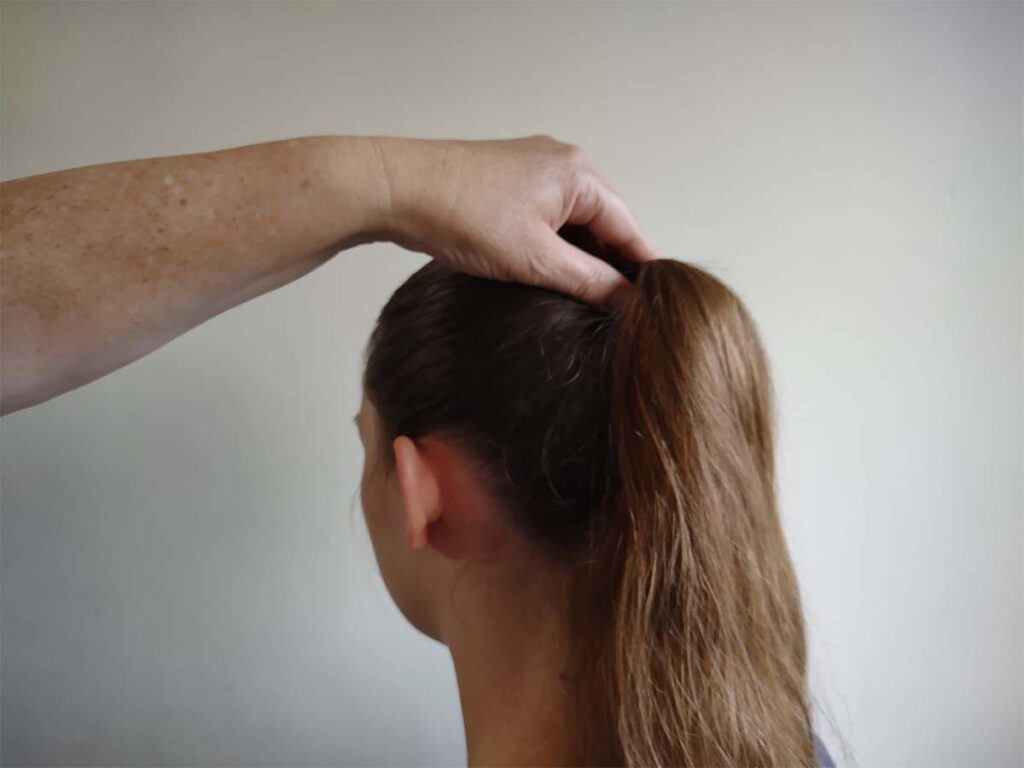
To make the perfect ballet bun you need to start with a perfect pony-tail. Begin by brushing back the hair, and gather it into a tight pony tail with a single hair band.
For a classical ballet bun, it’s important that the bun isn’t too high or too low, so you need to make sure that the pony tail sits in the middle of the head and just above the top of the ear line:
Top Tips:
It’s important that you choose the right type of net for your ballet bun.
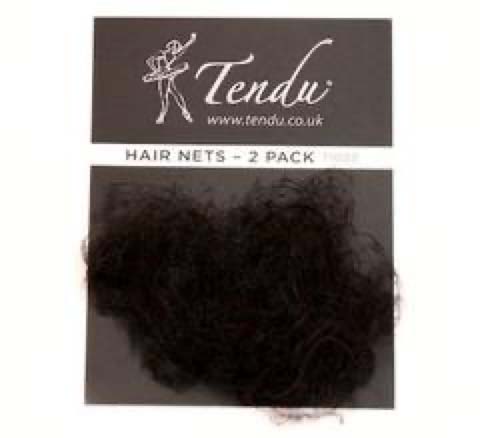
We recommend that you use a hair net rather than a bun net.
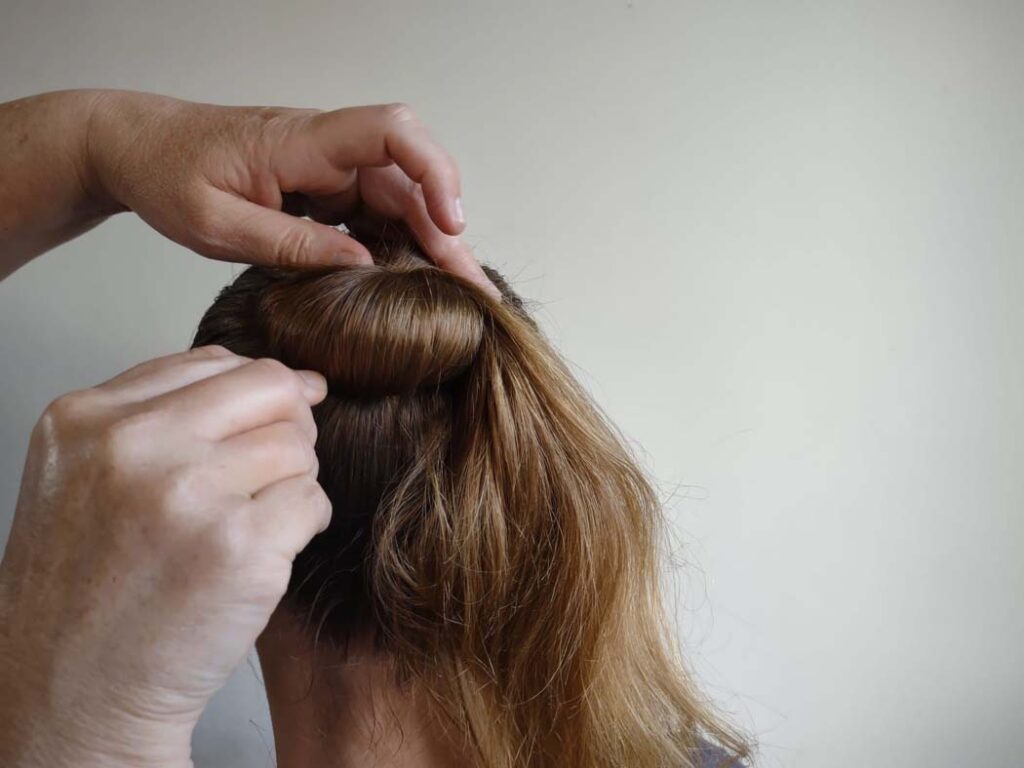
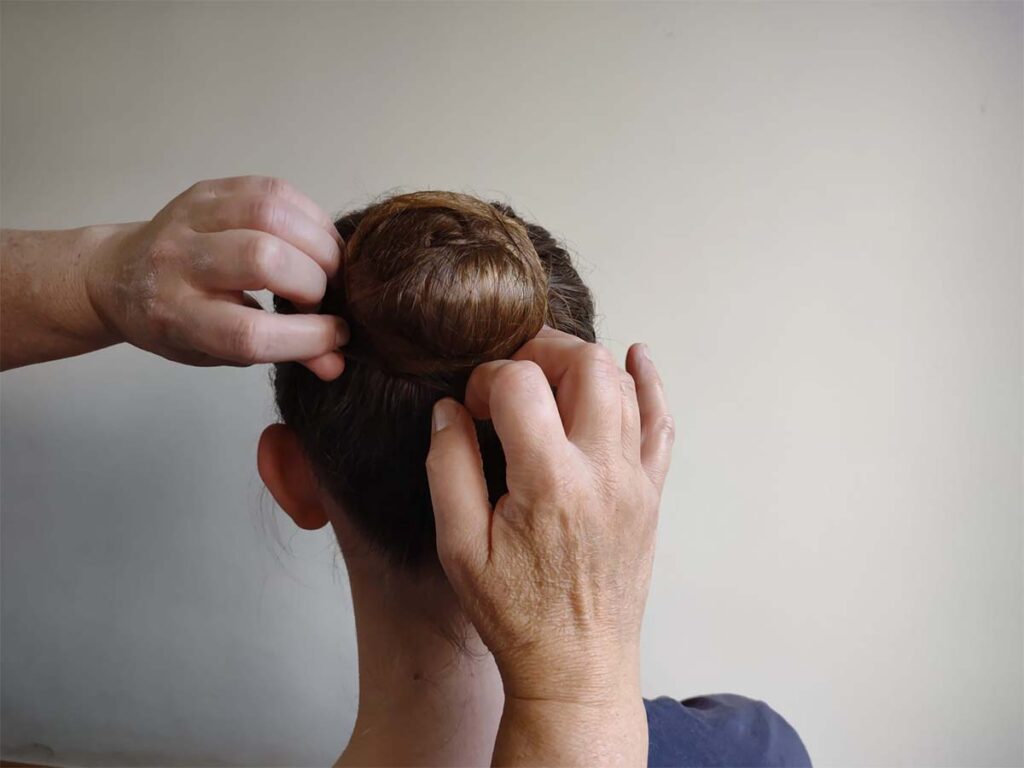
Start by taking the pony tail and loosely wrapping it around in a circle. It doesn’t need to be too tight at all, it can just be really loose at this start
Top Tip:
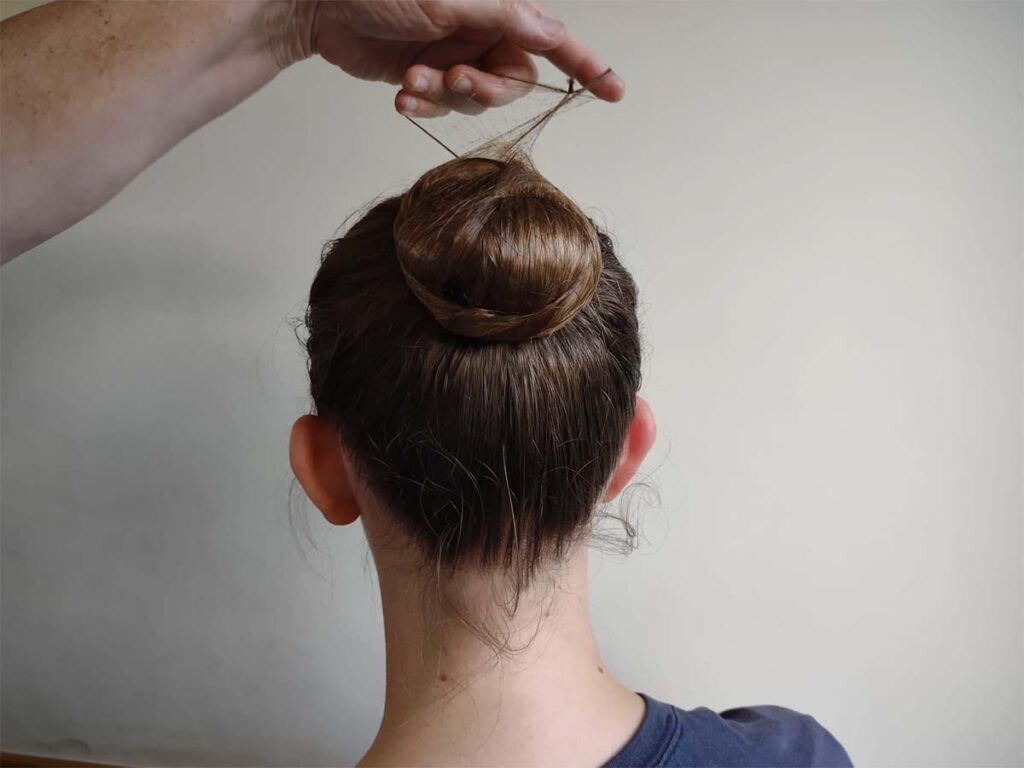
Next you need to take the hair net and wrap one end of it around the whole of the bottom of your ballet bun.
Then pull the other end of the hairnet upwards towards the forehead.
Now you need to twist the hair net before bringing it back down to the bottom of the bun, catching all of the loose bits of hair.
Then you start the process again - wrap the hairnet around the bottom of the bun, pull the hair net up towards the forehead, twist and come back down to the bottom of the bun again.
The hair net is nice and big so after you have wrapped it around the bun once you can repeat this process 3 or 4 more times (depending on the thickness and volume of hair you are working with) ensuring that you catch all of the wispy bits of hair to make a neat ballet bun.
Now you need to begin to shape your ballet bun by teasing the hair into a nice symmetrical round shape, ensuring that there is no hole in the middle.
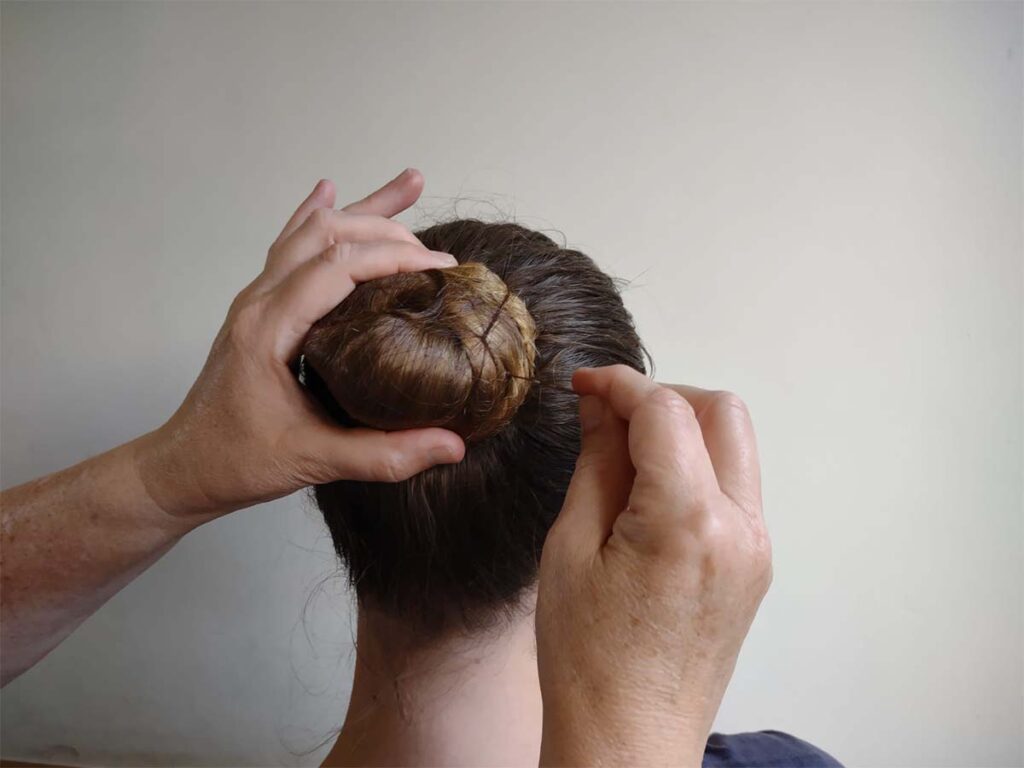
Next you need to add the hair pins to your ballet bun to hold it securely in place. Take a little bit of the bun, with the pin pointing outwards away from the centre of the bun.
Then, go up and over before pushing the pin back in towards the centre of the bun.
Repeat this process, working your way around the ballet bun in a circle, using 6 to 8 pins, depending on how big the bun is.
Top Tip:
Please make sure that gel, hair spray is applied so there are no wispy bits.
Miss Marie will add a bow for the exams.